Building a Yocto Image for NXP i.MX6 Products

yocto-project-thumbdrive

Things to Know

We’re going to be walking through how to prepare a Yocto build for use with our i.MX6 products, specifically the TS-4900 which we have a special build recipe for. A build recipe is a friendly term to describe the scripts and environment variables required to build a Yocto distribution. There are many other build recipes available which work on a more generic level as well, so this guide can be applied generally as well. This guide is both an echo and extension of the TS-4900 Build Yocto Distribution wiki page. I’ll be mostly echoing (aka copy/pasting) the steps, but I’ll also add a few notes along the way. I’m going to assume you’ve landed here because you’re using search terms that make you at least familiar with what Yocto is and the terminology that surrounds a basic software development environment. If you have questions, I’m happy to try and answer them in the comments that follow.

Continue reading “Building a Yocto Image for NXP i.MX6 Products”

Tag Jumping in a Codebase Using ctags and cscope in Vim

Introduction

Tag jumping is immensely helpful when developing in a CLI environment such as Vim or Emacs. Simply place a marker over the function, variable, class, macro, etc. and with a keystroke, jump to the declaration or view other references across multiple files. This productivity tool will help you develop and debug faster and get a better understanding of your codebase.

There are two main solutions for tag jumping: ctags and cscope. Both are very similar in how they function: scan a codebase and index keywords (tags) and their locations. Vim understands the index and provides you with an interface for jumping back and forth between the tags.

The differences between the two are small, but important to distinguish. With ctags, you can use autocomplete (aka omnicomplete) for function and variable names as you type, something cscope doesn’t give you. Also, there’s much less setup to get ctags up and running as it’s generally already installed. The downside is ctags doesn’t do as well as cscope with a conglomerated or mostly unknown codebase. The good news is, they can co-exist!    Home

We’re going to take a look at setting up and basic usage of both in this guide. If you need a diverse codebase to try this out on, try cloning a random trending c repository from GitHub. I settled on grpc/grpc because it was large and varied enough to really put ctags and cscope to the test.

Continue reading “Tag Jumping in a Codebase Using ctags and cscope in Vim”

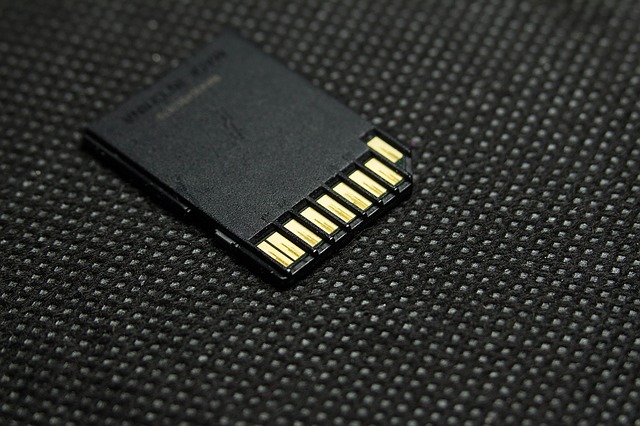
How to Write an SD Card Image (Linux, Windows, Mac OSX)

sd-card

The question “How do I write a TS Image to an SD card under Linux / Mac OSX / Windows?” comes up quite a bit when dealing with embedded systems or any situation where you want to make an exact, bit-by-bit copy of a removable storage card or disk. While the following guide talks about our products, it can be applied generically. Read through it first to make sure you have a basic, core understanding of the instructions given, and then apply them to your situation. We’ll be looking at how to write to an entire disk and/or a specific partition on that disk using the dd command, a common utility found in most unix systems for low-level operations on hard disks. Jokingly, ‘dd’ stands for “disk destroyer” or “delete data”, so take care!      Home

Continue reading “How to Write an SD Card Image (Linux, Windows, Mac OSX)”

Develop a Simple Qt Quick Interface for HMI/SCADA Applications

Introduction

We’re graduating from our Getting Started with Qt Creator on the TS-TPC-8390-4900 guide, where we ran an example program which came preloaded with Qt Creator on our TS-TPC-8390-4900, and moving into a more real world situation. This guide builds upon the foundations that we set up in the getting started guide and will walk you through building a simple human machine interface (HMI) for supervisory control and data acquisition (SCADA) applications. We’ll be controlling a register connected to a red LED as well as reading a temperature sensor connected to our CPU. This is about as basic as you can get to demonstrate both system control and data acquisition, and it’s not far from a basic real world use case. In the real world, you’d be toggling DIO or relays instead of toggling an LED. As an end user of the touch panel computer (TPC), you’d be transferring control signals or other data via RS-232 or Ethernet with the press of a button. Once you complete this tutorial it’s a small jump to toggle DIO and relays to control a remote system.

For this guide, a project file containing TS-TPC-8390-4900 specific code written in C++ called “HeatLaser” will be provided for you. It reads CPU temperature every second and toggles the red LED. You’ll simply download it and open the project within Qt Creator. By the end of this guide, you’ll be able to run and have a basic understanding of a Qt Quick Controls application. When you’re comfortable, you can make some edits to the project file to implement other similar tasks that may be more relevant to your needs.

[gfycat data_id="AridOrderlyGreatdane"]

Continue reading “Develop a Simple Qt Quick Interface for HMI/SCADA Applications”

Getting Started with Qt Creator on the TS-TPC-8390-4900 or TS-TPC-7990

Introduction

In this getting started guide, we’re going to look at what it takes to get an example Qt Creator project running on the TS-TPC-8390-4900 or TS-TPC-7990. This will help pave the way for developing a human machine interface (HMI) for supervisory control and data acquisition (SCADA). We’ll start out by talking about the expected workflow and specific versions compatible with our chosen hardware, TS-TPC-8390-4900 or TS-TPC-7990. Next the TS-TPC-8390-4900 and Qt Creator will need to be prepared to work together. Finally, we’ll test our environment by running an example Qt Quick Controls Application. In a follow up guide, titled Develop a Simple Qt Quick Interface for HMI/SCADA Applications, we’ll look into what it takes to gather some system data and control DIO.        Home

Continue reading “Getting Started with Qt Creator on the TS-TPC-8390-4900 or TS-TPC-7990”

Practical Guide to Getting Started with the TS-TPC-8390-4900

Introduction

This guide will walk you through the basic steps of getting your TS-TPC-8390-4900 touch panel computer (TPC) up and running. It’s mostly an extrapolation from the official TS-TPC-8390-4900 Manual, but provides a more practical approach in setting up common connections, networking, and environments to begin development. We’ll assume you’ve already gone through the excitement of unboxing, and we’ll pick up from there.

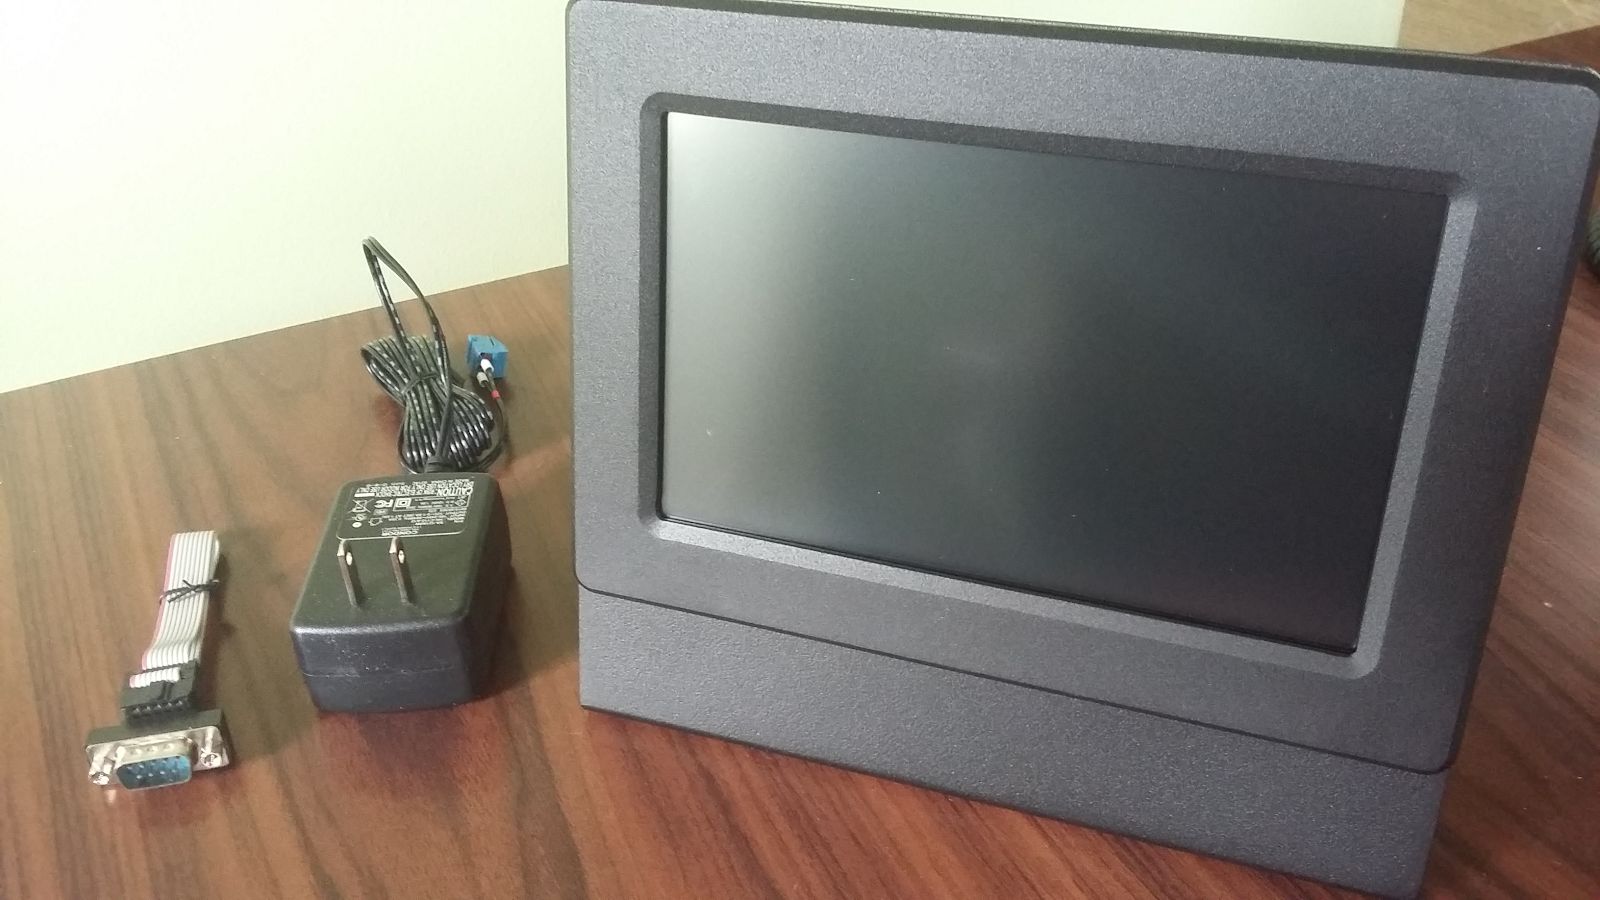
TS-TPC-8390-4900 Out of the Box with PSU and Serial Adapter

Connections

Let’s get our TS-TPC-8390-4900 hooked up! This includes our very basic connections we’ll need for most any development or project: power, serial console, Ethernet, and optionally a keyboard and mouse.

Continue reading “Practical Guide to Getting Started with the TS-TPC-8390-4900”

Creating a Human-Machine Interface (HMI) Web Application

Simple Embedded Monitor and Control Dashboard

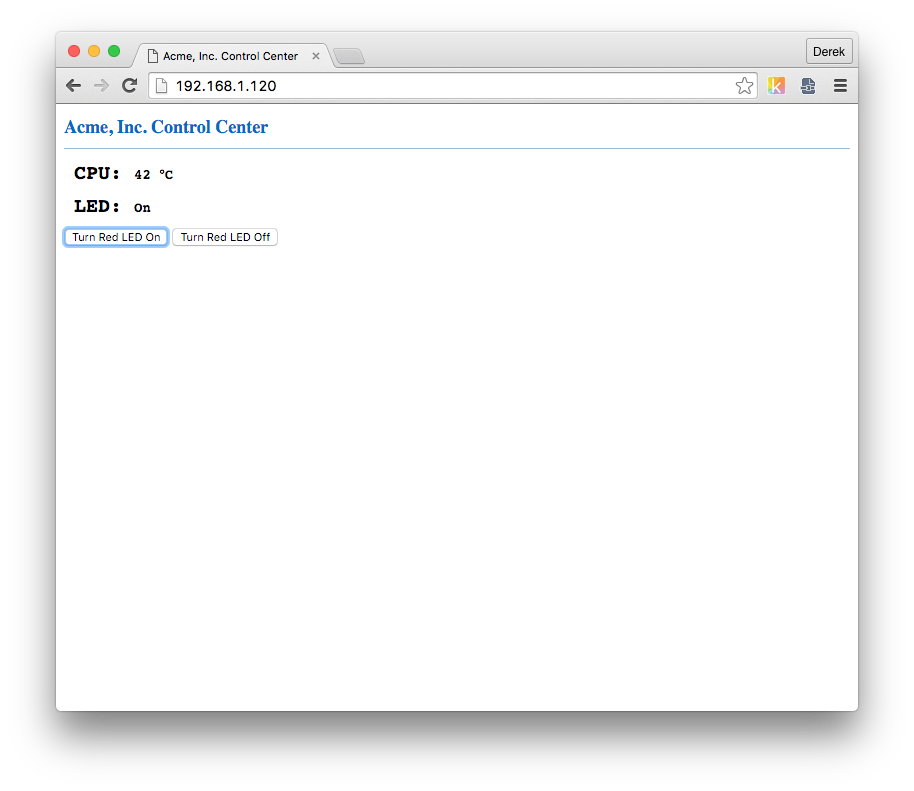
Final HMI Web Application

In this guide, we’re going to learn how to create a very simple PHP web application that will read and display real-time CPU temperature data and control an LED using javascript AJAX calls from a web browser anywhere in the world. In the real world, you’d want to monitor something more interesting, like equipment or sensors connected to ADC, CAN, RS-485, RS-232 ports and other GPIO pins. Or how about monitoring voltage input? You’d also want to be able to control your connected equipment using digital output signals. This guide provides an introduction to the concepts that will help get you started in the right direction. All source code is available in the tarballhmi-example-web-app.tar.                                                      Home

Continue reading “Creating a Human-Machine Interface (HMI) Web Application”

Practical Guide to Getting Started with the TS-7250-V2

Introduction

This guide will walk you through the basic steps of getting your TS-7250-V2 up and running. It’s mostly an extrapolation from the official TS-7250-V2 Manual, but provides a more practical approach in setting up common connections, networking, and environments to begin development.             Home

Connections

Let’s get our TS-7250-V2 hooked up! This includes our very basic connections we’ll need for most any development or project: power, serial console, and Ethernet.

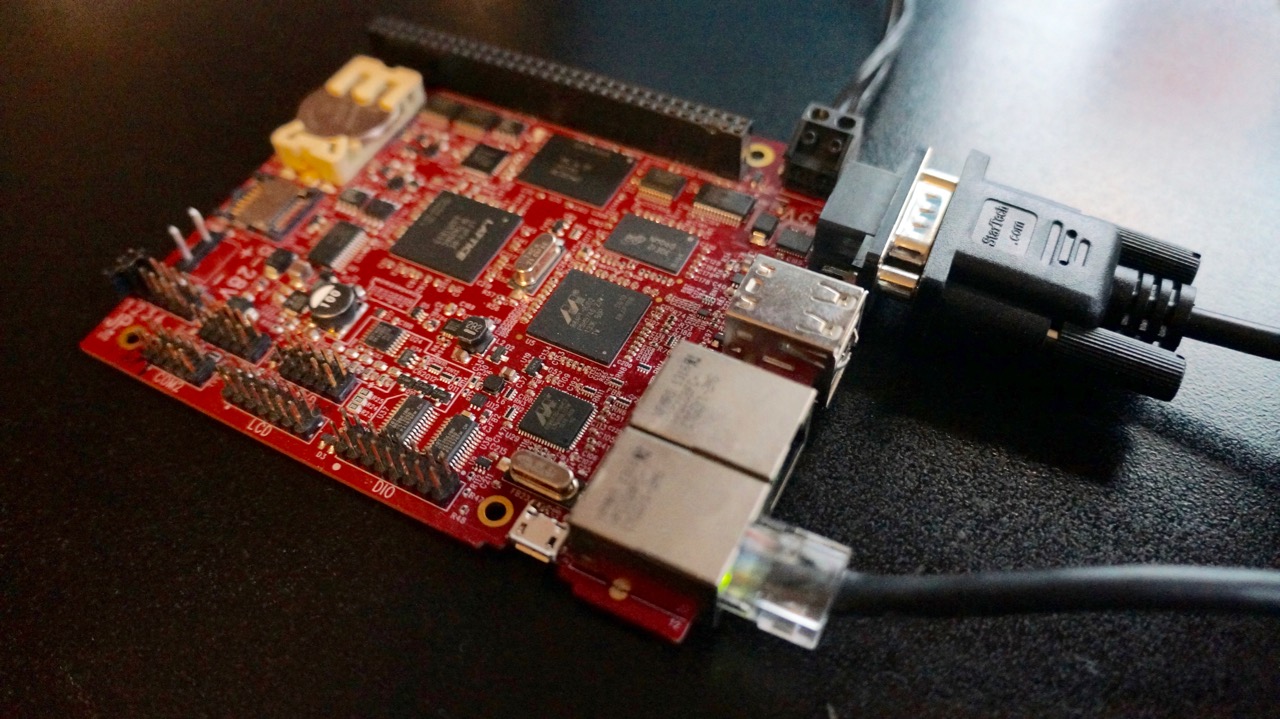
TS-7250-V2 with power, console, and Ethernet

Continue reading “Practical Guide to Getting Started with the TS-7250-V2”

Improving PC/104 Bandwidth using FPGA Microcontroller

The TS-ADC24 can provide up to 8 MB/s of ADC data, but the ISA (PC/104) bus on most systems is limited to 2 MB/s bandwidth or less. So one might conclude that the TS-ADC24 is over-designed. However, the TS-ADC24 itself does not require the long ISA strobe times that typical PC/104 systems use, and a well-designed PC/104 system such as the TS-8100-4740 featuring a Spartan 6 FPGA can actually exceed 2MB/s for sustained bursts. This translates into sampling 4 ADC channels at 250 kHz or even 500 kHz. This is possible due to standard functionality in the FPGA including customizable bus timing, user DMA, and an embedded processor. With extra engineering, 1000 kHz would be possible, but this article explores what can be accomplished by a typical C programmer who does not want to venture into the realm of FPGA development.

Continue reading “Improving PC/104 Bandwidth using FPGA Microcontroller”