Technologic Systems products use two types of PC/104 connectors: 1.) the standard PC/104 connector and 2.) the PC/104 stack-thru connector. The standard connector is for any SBC used by itself or at the bottom of a PC/104 stack. The standard connector is provided on all of our PC/104 SBCs by default. The optional stack-thru connector is for clients who wish to use a Technologic Systems SBC in conjunction with their PC/104 motherboard. In this case, the Technologic Systems SBC will be mounted above the client board and will require a PC/104 stack-thru connector. PC/104 peripherals (daughter-boards) always have a stack-thru connector, because they must be mounted above the PC/104 SBC. Below you will find pictures of the two PC/104 connectors and an example of a PC/104 stack. Home
Author: Derek Hildreth
Practical Guide to Getting Started with the TS-7680
Introduction
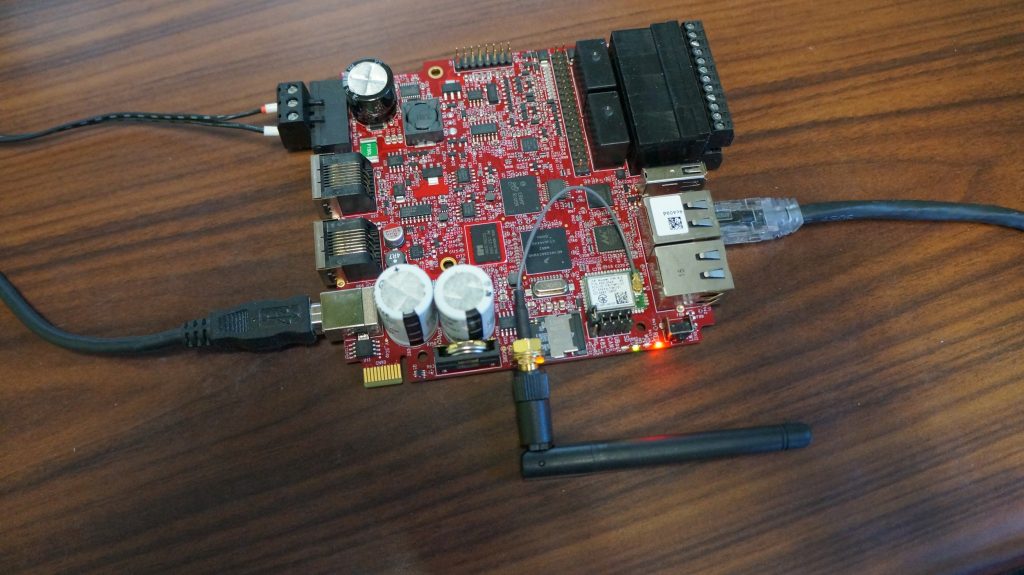
This guide will walk you through the basic steps of getting your TS-7680 up and running. It’s mostly an extrapolation from the official TS-7680 Manual, but provides a more practical and casual approach in setting up common connections, networking, and environments to begin development.
Continue reading “Practical Guide to Getting Started with the TS-7680”
Practical Guide to Getting Started with the TS-7970
Introduction
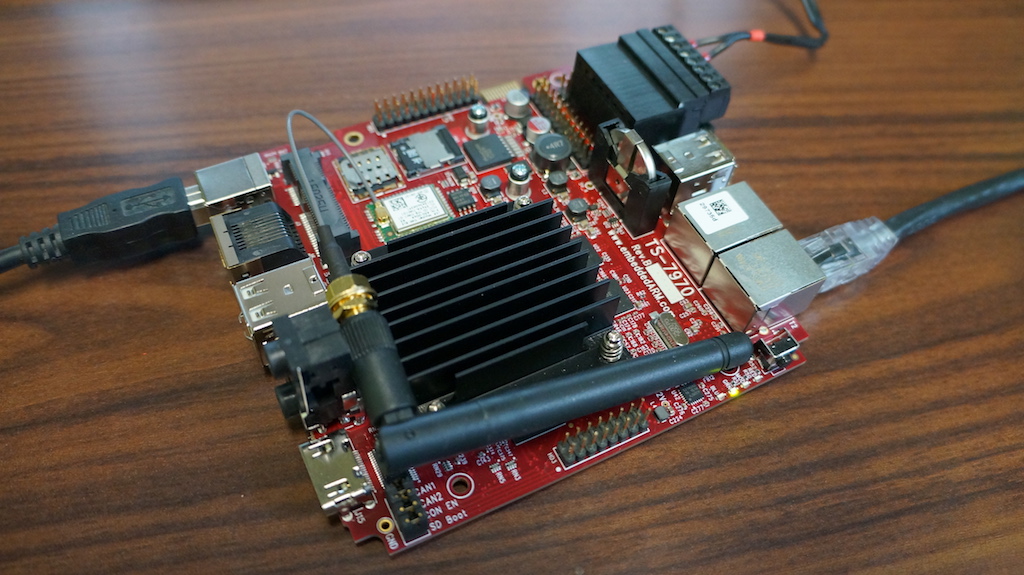
This guide will walk you through the basic steps of getting your TS-7970 up and running. It’s mostly an extrapolation from the official TS-7970 Manual, but provides a more practical and casual approach in setting up common connections, networking, and environments to begin development.
Continue reading “Practical Guide to Getting Started with the TS-7970”
Building a Yocto Image for NXP i.MX6 Products
Things to Know
We’re going to be walking through how to prepare a Yocto build for use with our i.MX6 products, specifically the TS-4900 which we have a special build recipe for. A build recipe is a friendly term to describe the scripts and environment variables required to build a Yocto distribution. There are many other build recipes available which work on a more generic level as well, so this guide can be applied generally as well. This guide is both an echo and extension of the TS-4900 Build Yocto Distribution wiki page. I’ll be mostly echoing (aka copy/pasting) the steps, but I’ll also add a few notes along the way. I’m going to assume you’ve landed here because you’re using search terms that make you at least familiar with what Yocto is and the terminology that surrounds a basic software development environment. If you have questions, I’m happy to try and answer them in the comments that follow.
Continue reading “Building a Yocto Image for NXP i.MX6 Products”
What I Wish I’d Known When I Was an Embedded Linux Newbie
Here are some tips compiled from our seasoned engineers on what they wish they’d known about embedded linux back when they were “newbs.” Newcomers and seasoned veterans alike should get some good nuggets of information and possibly a fun perspective looking back at our own humble beginnings. We’ll try not to overwhelm you as we make our way through the list. We’re not here to rewrite the books, but do want to provide a personal perspective. If you’re in the camp of people who’ve been using desktop Linux, just be aware embedded Linux is a different animal, especially when it comes to space constraints, different CPU architecture (ARM), resilience to sudden power outages, and inability to install any mainline Linux kernel or distribution you please. And maybe you’re in the microprocessor camp moving towards a more generalized and capable embedded Linux system. Either way, we’ll assume you have at least some knowledge of Linux as we walk through this guide.
Continue reading “What I Wish I’d Known When I Was an Embedded Linux Newbie”
Tag Jumping in a Codebase Using ctags and cscope in Vim
Introduction
Tag jumping is immensely helpful when developing in a CLI environment such as Vim or Emacs. Simply place a marker over the function, variable, class, macro, etc. and with a keystroke, jump to the declaration or view other references across multiple files. This productivity tool will help you develop and debug faster and get a better understanding of your codebase.
There are two main solutions for tag jumping: ctags and cscope. Both are very similar in how they function: scan a codebase and index keywords (tags) and their locations. Vim understands the index and provides you with an interface for jumping back and forth between the tags.
The differences between the two are small, but important to distinguish. With ctags, you can use autocomplete (aka omnicomplete) for function and variable names as you type, something cscope doesn’t give you. Also, there’s much less setup to get ctags up and running as it’s generally already installed. The downside is ctags doesn’t do as well as cscope with a conglomerated or mostly unknown codebase. The good news is, they can co-exist! Home
We’re going to take a look at setting up and basic usage of both in this guide. If you need a diverse codebase to try this out on, try cloning a random trending c repository from GitHub. I settled on grpc/grpc because it was large and varied enough to really put ctags and cscope to the test.
Continue reading “Tag Jumping in a Codebase Using ctags and cscope in Vim”
How to Write an SD Card Image (Linux, Windows, Mac OSX)
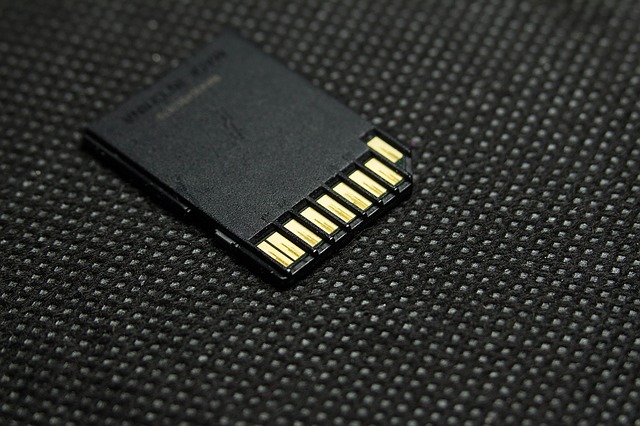
The question “How do I write a TS Image to an SD card under Linux / Mac OSX / Windows?” comes up quite a bit when dealing with embedded systems or any situation where you want to make an exact, bit-by-bit copy of a removable storage card or disk. While the following guide talks about our products, it can be applied generically. Read through it first to make sure you have a basic, core understanding of the instructions given, and then apply them to your situation. We’ll be looking at how to write to an entire disk and/or a specific partition on that disk using the dd command, a common utility found in most unix systems for low-level operations on hard disks. Jokingly, ‘dd’ stands for “disk destroyer” or “delete data”, so take care! Home
Continue reading “How to Write an SD Card Image (Linux, Windows, Mac OSX)”
Getting Current Voltage Input (VIN) on TS-7670 or TS-7400-V2
Here’s an example program our engineers might find useful. Kris Bahnsen, a long time engineer for Technologic Systems, wrote this simple program to get the voltage input (Vin) on the 8 – 28 VDC power rail on the TS-7670(Rev. D or later) or TS-7400-V2 (Rev. B or later). Without going into too much detail about implementation of the on-board supervisory microcontroller, there is a register which is used to store various ADC values, including Vin. This example program basically polls this 4byte register via I2C interface, accounts for the voltage divider (see TS-7670 schematic or TS-7400-V2 schematic), and outputs the Vin value. Home
So, without further ado, here’s the code:
Continue reading “Getting Current Voltage Input (VIN) on TS-7670 or TS-7400-V2”
Develop a Simple Qt Quick Interface for HMI/SCADA Applications
Introduction
We’re graduating from our Getting Started with Qt Creator on the TS-TPC-8390-4900 guide, where we ran an example program which came preloaded with Qt Creator on our TS-TPC-8390-4900, and moving into a more real world situation. This guide builds upon the foundations that we set up in the getting started guide and will walk you through building a simple human machine interface (HMI) for supervisory control and data acquisition (SCADA) applications. We’ll be controlling a register connected to a red LED as well as reading a temperature sensor connected to our CPU. This is about as basic as you can get to demonstrate both system control and data acquisition, and it’s not far from a basic real world use case. In the real world, you’d be toggling DIO or relays instead of toggling an LED. As an end user of the touch panel computer (TPC), you’d be transferring control signals or other data via RS-232 or Ethernet with the press of a button. Once you complete this tutorial it’s a small jump to toggle DIO and relays to control a remote system.
For this guide, a project file containing TS-TPC-8390-4900 specific code written in C++ called “HeatLaser” will be provided for you. It reads CPU temperature every second and toggles the red LED. You’ll simply download it and open the project within Qt Creator. By the end of this guide, you’ll be able to run and have a basic understanding of a Qt Quick Controls application. When you’re comfortable, you can make some edits to the project file to implement other similar tasks that may be more relevant to your needs.
[gfycat data_id="AridOrderlyGreatdane"]Continue reading “Develop a Simple Qt Quick Interface for HMI/SCADA Applications”
Reading CPU Temperature and Controlling LED with C++ via sysfs
Let’s take a quick look at an example C++ program which reads CPU temperature and controls an LED using sysfs. This example is a bit specific in that it’s only been tested on our NXP i.MX6 powered TS-4900 or TS-7970 running Yocto Linux, but the principles could be applied to other embedded systems as well. If you’re interested in the nitty gritty details about sysfs, take a look at The sysfs Filesystem by Patrick Mochel. Suffice it to say for our purposes, sysfs makes it easy for us to interact with system hardware using plain text files located in the /sys/ directory. The file to control the red LED is /sys/class/leds/red-led/brightness. The file to read the CPU temperature is /sys/class/thermal/thermal_zone0/temp. If we want to turn the red LED on, we simply write a ‘1’ to the file, and not surprisingly, writing a ‘0’ will turn it off. If you’ve booted up your TS-4900 or TS-7970, you can see this by running the shell commands: Home
Continue reading “Reading CPU Temperature and Controlling LED with C++ via sysfs”


